

The school holidays are always something to look forward to during term time, but when they come around, filling the hours can sometimes be quite tricky. To help save the day, we have produced the ultimate list of fun, yet educational, activities to keep your children busy during the Easter holidays.
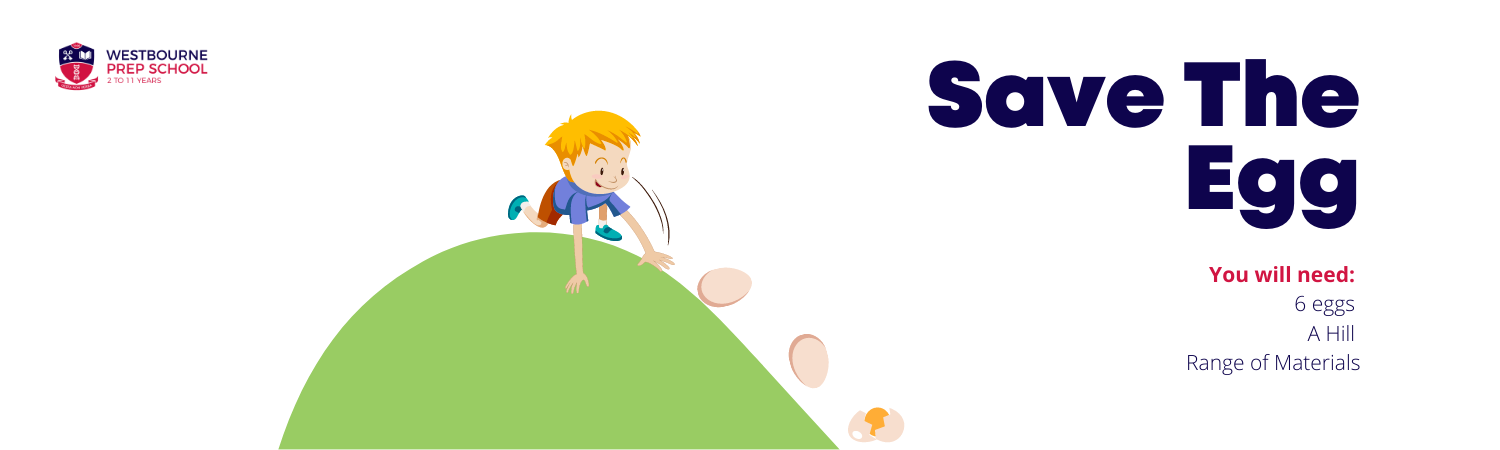
1. Save The Egg
What you will need:
Save the egg is pretty much what it says on the tin. For this you will need to boil 6 eggs and have a hill or slope nearby to roll them down. You will also need a range of materials to wrap your egg in. Good materials to use to show different results are:
-Paper
-Cotton Wool
-Bubble Wrap
-Tin Foil
How to do it:
Start off with rolling an unprotected egg down the hill to show your child the cracks and damage that it receives when it’s rolling that fast downhill. Then provide your child with a range of different materials to wrap the egg up in and repeat the experiment.
What it teaches them:
This experiment will show your child what materials are best at acting as a shock absorber.
.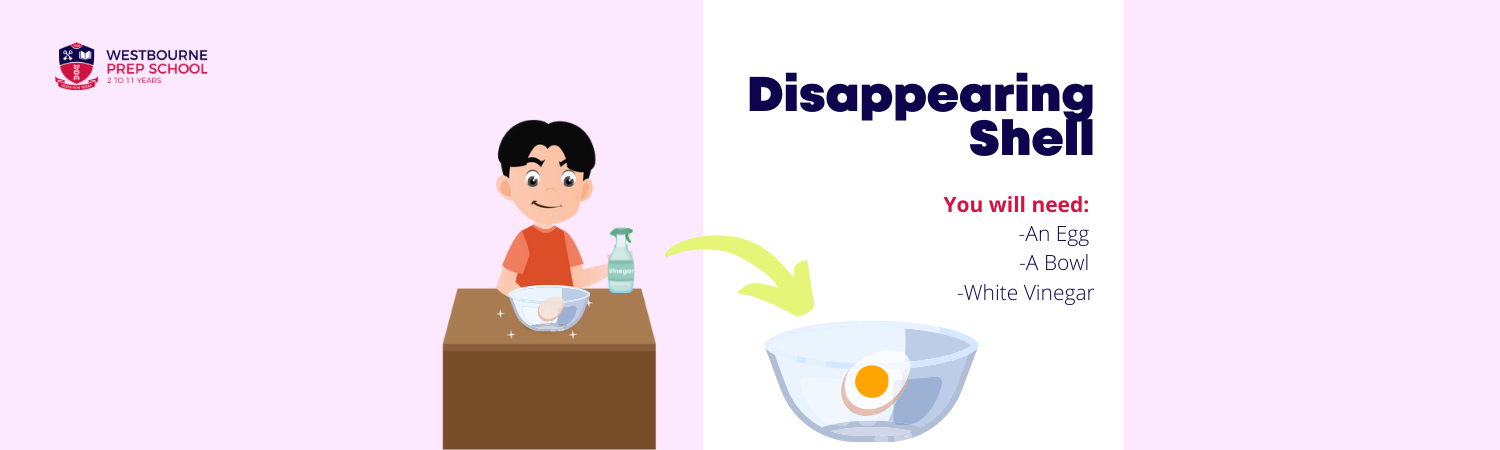
2. Disappearing Shell
What you will need:
For the invisible egg shell trick, you won’t need many materials, but you will need 24 hours for the magic to happen. As well as:
-An Egg (2 if you are going to do the shrinking egg activity afterwards)
-A Bowl
-White Vinegar
How to do it:
All you need to do is place the egg in the bowl, and cover it entirely with white vinegar. You should start to see a chemical reaction take place in the form of bubbles around the shell. Now leave the egg in the bowl for 24 hours, and see the shell gradually disappear.
What it teaches:
The bubbles on the shell signify a chemical reaction. The scientific explanation behind the experiment is that the egg shell is made of calcium carbonate, which when combined with an acid (the vinegar), becomes carbon dioxide and ‘disappears’ into the air.
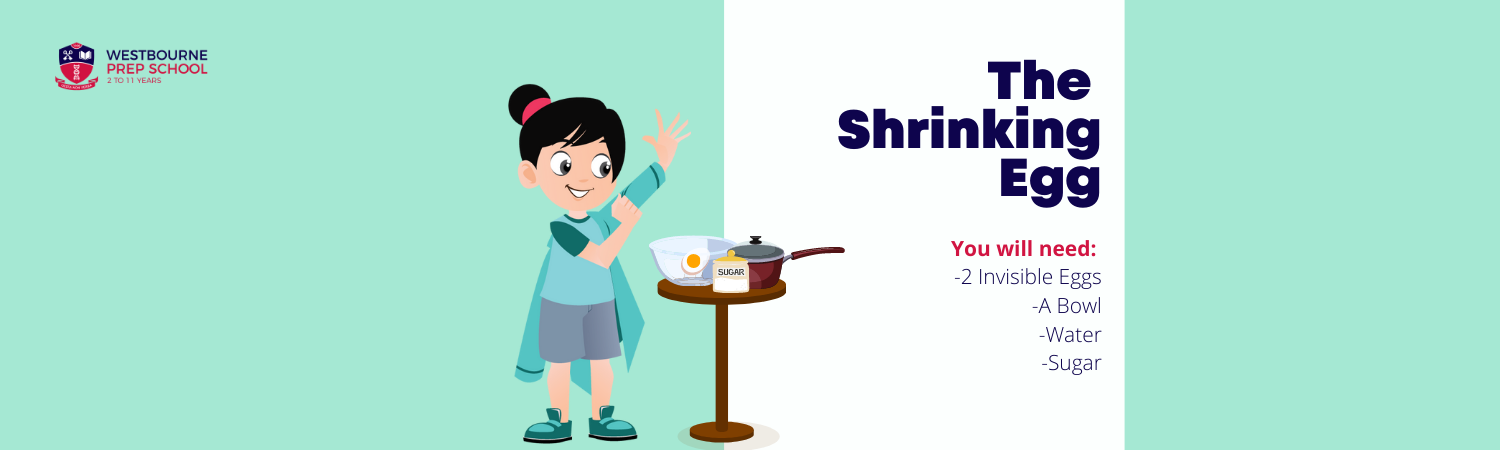
3. The Shrinking Egg (to be done straight after the disappearing shell)
What you will need:
This experiment links nicely in with the experiment before, as you will need an egg that has been soaked in vinegar for 24 hours for this one. You will also need:
- 2 Vinegar soaked eggs
- Bowl
- Sugar
- Water
How to do it:
- First, you will need to create a concentrated sugar solution. To do this you will need to dissolve around 2 cups full of sugar in 1 cup of water in a pan, being careful not to bring the solution to a boil, or it will start to caramelise.
- Make sure to let the solution completely cool to room temperature and then transfer to the bowl. Carefully, take one of your invisible shelled eggs and place it in the sugar solution.
- Leave the egg for a further 24 hours in the solution and you will see that the egg has shrunk. (Use the second egg as a control and you will be able to see the change in size much more easily.)
- Once the egg has shrunk, you can then put the egg back into a bowl of normal water, and you will see the egg expand again.
What it teaches:
This experiment is all about osmosis. The egg shrinks because the concentration of sugar is so high on the outside, that water leaves the egg by osmosis, to reduce the concentration. By adding the egg back to water, the water moves back inside the egg because the water concentration inside the egg is now lower. The important thing with osmosis and diffusion, is that particles always move from a higher concentration to a lower concentration.
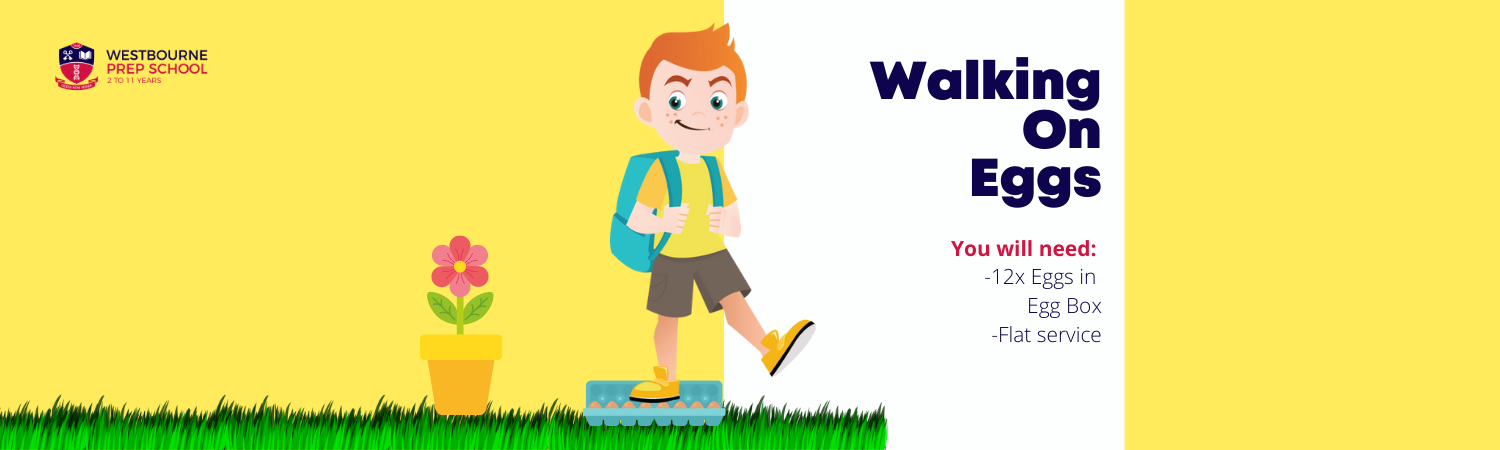
4. Walking On Eggshells
What you will need:
This experiment is definitely not for the faint hearted. We know it may seem crazy, but using physics, you are actually able to support your full weight on raw eggs! This one is easy because all you will need is a box of 12 eggs, and a flat surface to stand on.
How to do it:
It’s nice and simple. You simply place the box of eggs on the floor and make sure that all of the eggs are sat with the pointy side facing up. You then very carefully place your foot across all of the eggs at the same time. The important thing is to spread your weight evenly across all of the eggs.
What it teaches:
This experiment teaches your child the workings of physics. A child knows that the strength of an egg should not support the weight of a human, so why does it work when several eggs are used together? The reason is because the pressure of the force is shared across all of the eggs rather than on just one. For older children, you can work out the pressure by using this equation: (Pressure = Force/Area).

5. Fizzy Eggs
What you will need:
For this one you should be able to find most of the ingredients in the kitchen but you might need to pop online and order some plastic egg moulds.
- Vinegar
- Baking soda
- Food Colouring
- Water
- Bowl and Spoon
- Plastic Eggs Moulds
How to do it:
- First, empty your baking soda into a bowl and add enough water to make a mouldable damp sand like mixture. It needs to be wet enough to hold together but not runny.
- Take a spoonful of the mixture and squish it into the bottom of the plastic egg, making sure to push it in firmly. At this stage you can add a toy or small item that will be revealed at the end of the experiment.
- Fill the other half of the egg mould with the boxing soda mixture, making sure it is all compressed before putting the two halves together.
- To set the mixture, place the filled eggs in the freezer for at least 15 minutes.
- Whilst the mixture is setting, you can create different coloured vinegar solutions by adding a few drops of food colouring to different bowls of vinegar.
- When the eggs are set, carefully remove them from their moulds and drop them into your choice of coloured vinegar and watch the magic happen!
What it teaches them:
This science experiment is all about chemical reactions. Different chemical reactions create different results, but mixing together vinegar and baking soda causes effervescence (fizzing!).

6. Easter Egg Pairs
What you will need:
Easter egg number matching is best done with:
-Coloured Card (Different Colours)
-Pen
-Scissors
How to do it:
Cut the coloured card into around 7-10 Easter Egg shapes, about the size of your hand. Then cut them in half in a zigzag line to mimic the shape of a broken egg. On each half of the egg you can then write matching pairs that go together. For example, the letter eight and the number 8 OR the first half of an equation and the answer. These pairings can be altered depending on the age of the children participating.
What it teaches:
Well… ANYTHING! This activity is perfect because you are able to teach them pretty much anything you like. Whether it be mathematics, languages or humanities, this is a great way to add a bit of fun into your learning.

7. Taste Testing:
What you will need:
This is one you will definitely want to join in with. All you need are any eggs or Easter chocolate that you may have lying around after the Easter bunny has made his appearance.
How to do it:
It’s very simple. Take it in turns to be blindfolded and sample different brands of chocolate. Really take time to teach your child to use their different senses (touch, smell, taste and even listening to the sound of it cracking).
What it teaches:
As well as being fantastic fun, it’s a great way to encourage younger children to take time to understand their senses and explain what they are experiencing.
HAPPY EASTER:
We hope these tips help you and your child make the most of your Easter holidays together, and we hope that the Easter Bunny treats all of you well. We love finding activities that are not only great fun, but educational too, and we think that these tick all of the boxes.
Find out how Westbourne Prep School can enhance your child’s education at www.westbourneschool.com/apply